

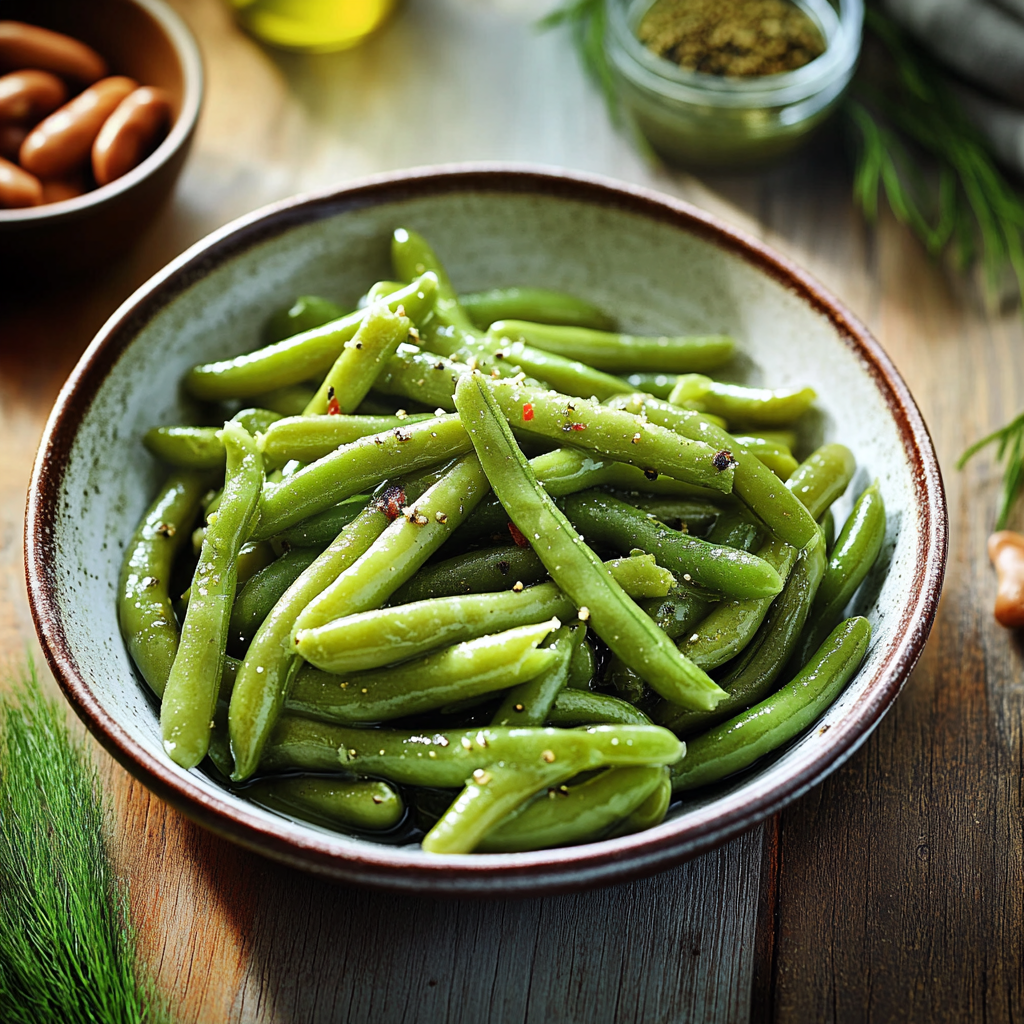
There’s something truly magical about the crunch of dilly beans. Picture this: crisp green beans, tangy dill, and a hint of garlic dancing together in a zesty brine. The first bite is a burst of flavor that transports you straight to summer picnics and family gatherings, where laughter fills the air like the scent of fresh herbs.
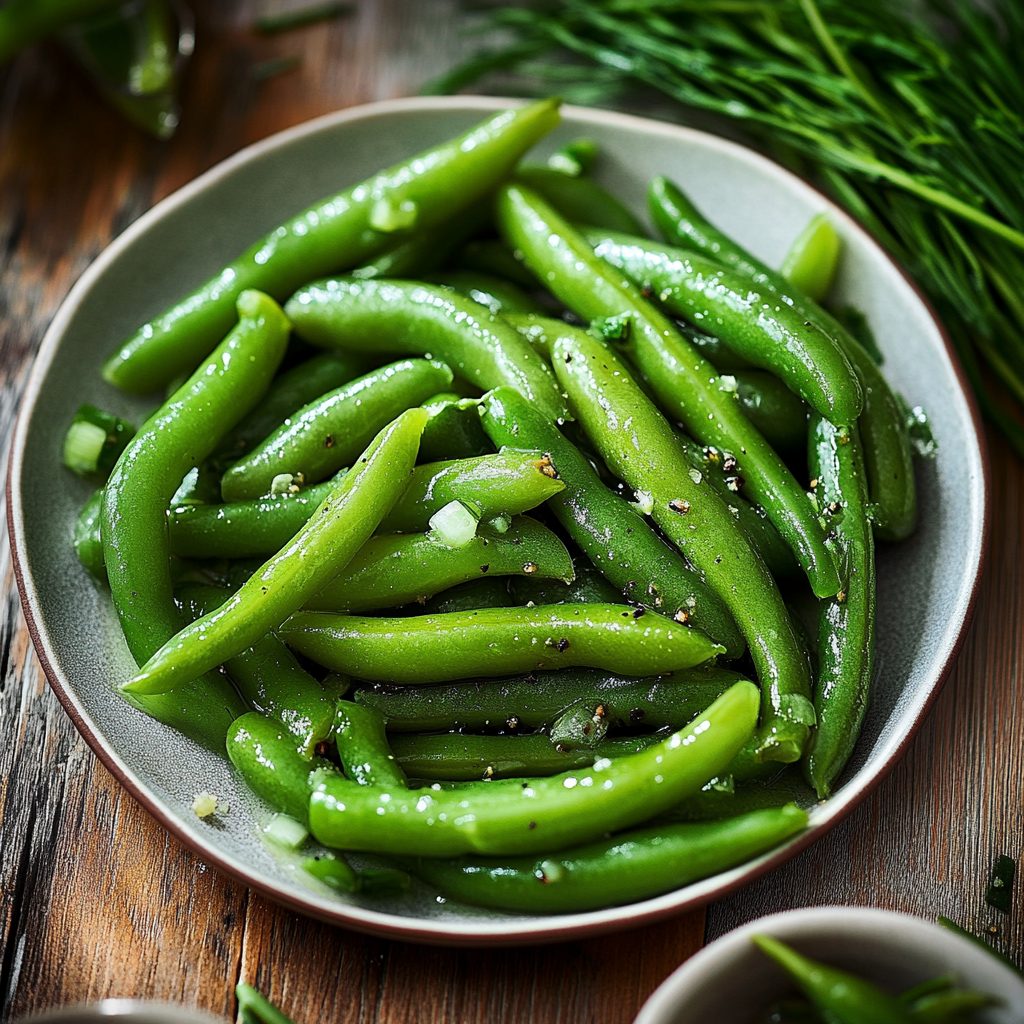
I remember the first time I made dilly beans for my friends. They looked at me skeptically, but one taste turned their faces from doubt to delight. It was like I had discovered a secret treasure buried in my kitchen. Now, these little green gems are a staple at every potluck, bringing joy and crunch wherever they go.
Why You'll Love This Recipe
- This recipe for dilly beans is easy to prepare and perfect for beginners
- The vibrant colors and crunch make it visually appealing on any table
- Bursting with flavor, these pickled beans can elevate any meal or serve as a fantastic snack
- Ideal for preserving garden-fresh beans throughout the season!
One memorable summer picnic featured these dilly beans; everyone raved about how addictive they were.
Essential Ingredients
Here’s what you’ll need to make this delicious dish:
-
Fresh Green Beans: Look for bright, firm beans without blemishes; these will provide the best crunch.
-
Dill Sprigs: Fresh dill adds vibrant flavor; feel free to use dried if fresh isn’t available.
-
Garlic Cloves: Choose plump garlic cloves for maximum flavor impact in your brine.
-
White Vinegar: Use high-quality vinegar for the best tangy flavor in your brine.
-
Water: Clean, filtered water works best to keep your dilly beans crisp.
-
Sugar: Just a touch of sugar balances the tanginess of the vinegar beautifully.
-
Salt: Non-iodized salt is preferable as it won’t cloud your brine.
-
Red Pepper Flakes (optional): A pinch adds delightful heat if you enjoy a spicy kick.
The full ingredients list, including measurements, is provided in the recipe card directly below.
Let’s Make it Together
Prepare yourself for an adventure in pickling! You’ll be amazed at how simple it is to make these crunchy dilly beans that will have your taste buds singing.
Prep Your Beans: Rinse fresh green beans under cool water, trimming off both ends. Aim for uniform lengths so they fit nicely into jars.
Create Your Brine: In a saucepan over medium heat, combine equal parts white vinegar and water with sugar and salt. Stir until dissolved, then bring it to a gentle simmer.
Add Flavor Punch!: Toss in smashed garlic cloves, dill sprigs, and red pepper flakes if using. Let this aromatic mixture bubble away for about 5 minutes to infuse flavors.
Packing Time!: Pack your prepared green beans tightly into clean jars while still warm. Pour the hot brine over the top until fully submerged.
Seal and Store!: Wipe jar rims with a clean cloth before sealing with lids. Allow them to cool before storing in the refrigerator for at least 24 hours to intensify flavors.
Enjoy your journey into pickling! Each step brings you closer to that satisfying crunch of homemade dilly beans ready to impress family and friends alike.
You Must Know
- Dilly beans are not just a crunchy snack; they’re a delightful addition to any meal
- Their bright flavors and crisp texture make them irresistible
- Plus, they’re easy to make and perfect for preserving those garden-fresh beans!
Perfecting the Cooking Process
Start by washing the beans thoroughly, then blanch them briefly before packing them into jars. This ensures they maintain their vibrant color and crunch.

Add Your Touch
Feel free to spice up your dilly beans with garlic, red pepper flakes, or even dill seeds. Personalizing the brine can elevate the flavor profile significantly.
Storing & Reheating
Store dilly beans in a cool, dark place for best results. They can be enjoyed right away or refrigerated for up to two months after opening.
Chef's Helpful Tips
- To achieve the best flavor in your dilly beans, use fresh ingredients and let them sit in the brine for at least 24 hours
- Always ensure jars are sealed tightly to avoid spoilage
- Experiment with additional herbs for unique taste variations
Sharing my first experience making dilly beans was unforgettable; my friends devoured them in minutes and begged for more! Their approval felt like winning a cooking contest right in my kitchen.
FAQ
What type of beans work best for dilly beans?
Green beans are ideal due to their crisp texture and ability to hold up during pickling.
How long do dilly beans last in the fridge?
Once opened, dilly beans can last up to two months when stored properly in the refrigerator.
Can I adjust the spice level in my dilly beans?
Absolutely! Add more or fewer spices according to your personal taste preferences for optimal flavor.
Dilly Beans
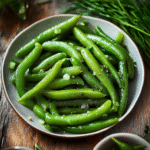
Dilly beans are a delightful way to enjoy crisp green beans, tangy dill, and garlic in a zesty brine. Perfect for summer picnics or as a crunchy snack, these pickled beans combine vibrant flavors and refreshing crunch that will impress family and friends alike. This easy recipe is ideal for beginners eager to preserve their garden-fresh beans and elevate any meal with a burst of flavor.
- Prep Time: 15 minutes
- Cook Time: 10 minutes
- Total Time: 25 minutes
- Yield: Approximately 4 servings 1x
- Category: Snack
- Method: Pickling
- Cuisine: American
Ingredients
- 1 pound fresh green beans
- 1 cup white vinegar
- 1 cup water
- 2 cloves garlic, smashed
- 1 tablespoon sugar
- 1 tablespoon non-iodized salt
- 2 sprigs fresh dill
- 1/2 teaspoon red pepper flakes (optional)
Instructions
- Rinse the green beans under cool water and trim both ends.
- In a saucepan over medium heat, combine white vinegar, water, sugar, and salt. Stir until dissolved and bring to a gentle simmer.
- Add smashed garlic, dill sprigs, and red pepper flakes (if using), allowing the mixture to bubble for about 5 minutes.
- Pack the warm green beans into clean jars tightly and pour the hot brine over them until fully submerged.
- Wipe jar rims with a clean cloth, seal with lids, and allow cooling before refrigerating for at least 24 hours.
Nutrition
- Serving Size: 1/4 cup (60g)
- Calories: 25
- Sugar: 2g
- Sodium: 440mg
- Fat: 0g
- Saturated Fat: 0g
- Unsaturated Fat: 0g
- Trans Fat: 0g
- Carbohydrates: 6g
- Fiber: 2g
- Protein: 1g
- Cholesterol: 0mg
