

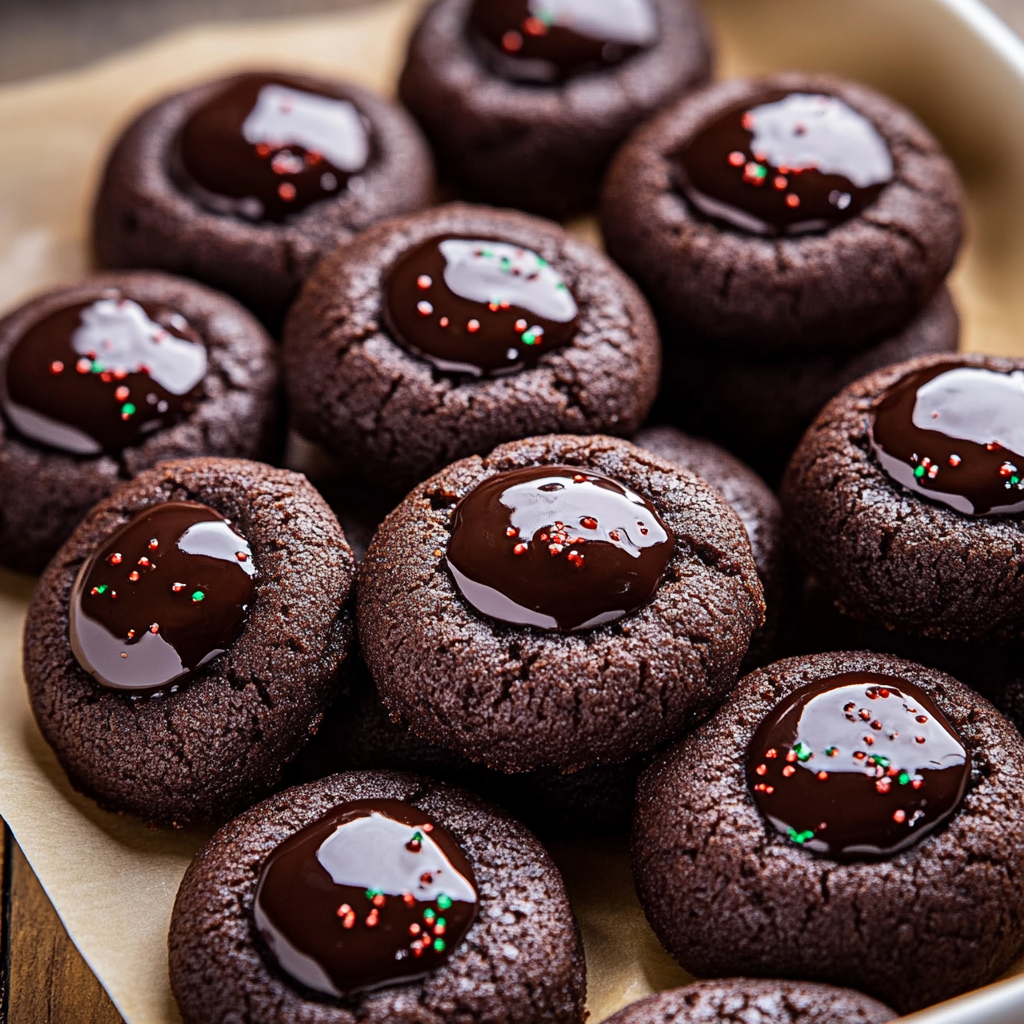
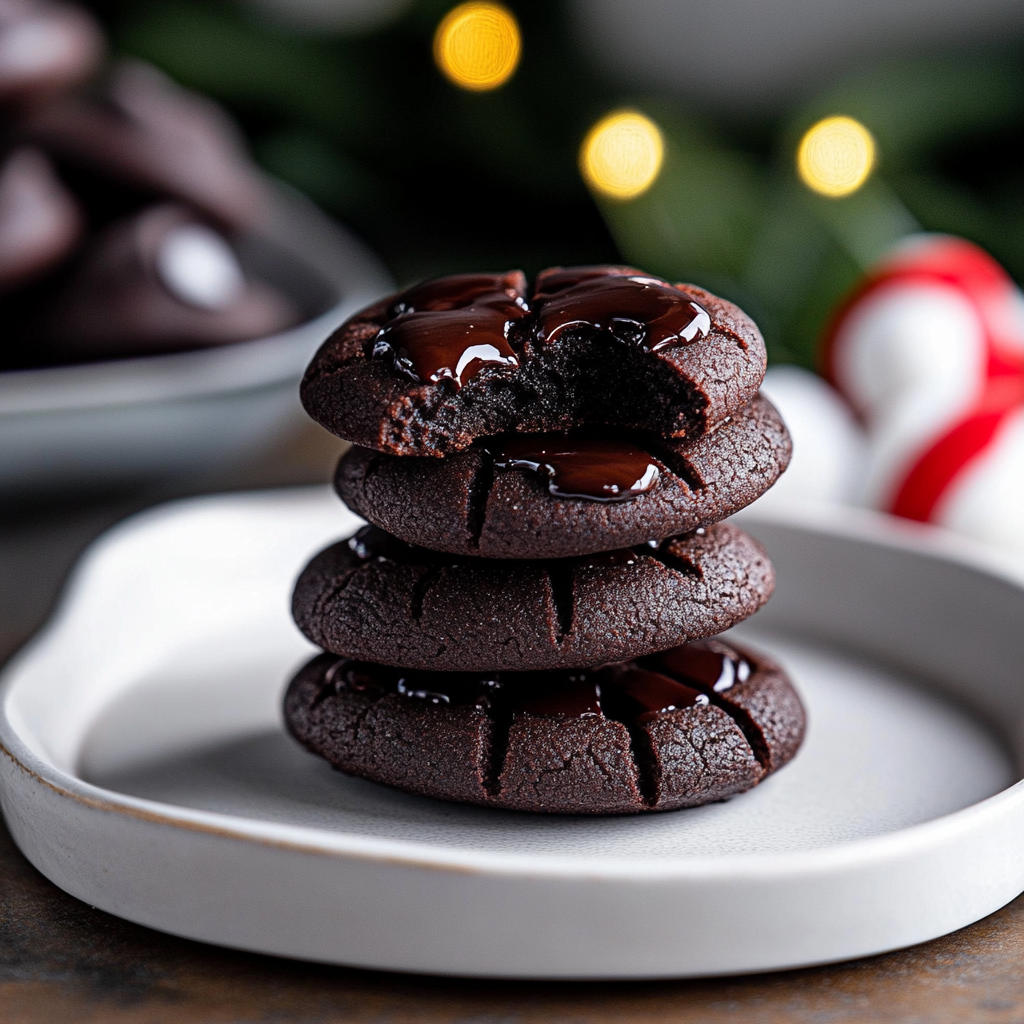
Chocolate thumbprint cookies are the sweet, decadent treats that dreams are made of. Picture this: warm, chocolatey goodness melting in your mouth, with a gooey center that beckons you to take another bite. The aroma wafts through your kitchen, enticing everyone within a five-mile radius to come running. These delightful morsels hold all the promise of chocolate bliss, waiting to be devoured.

I remember the first time I bit into one of these cookies at a friend’s holiday party. It was like my taste buds threw a party of their own! The laughter and chatter faded away as I savored that rich chocolate flavor, and I knew right then that I had to learn how to make them myself. Trust me; there’s no better way to celebrate life’s little moments than with a plate full of chocolate thumbprint cookies.
Why You'll Love This Recipe
- These chocolate thumbprint cookies are easy to whip up on a lazy afternoon
- Their rich, chocolaty flavor pairs perfectly with any filling, making them endlessly customizable
- Visually appealing with their glossy centers and crispy edges, they are sure to impress at gatherings
- Ideal for holidays or casual get-togethers, they bring joy to any occasion
Baking these gems has become a cherished tradition in my home during the holidays when family gathers around for sweet treats and heartwarming conversations.
Essential Ingredients
Here’s what you’ll need to make this delicious dish:
-
All-purpose Flour: Use high-quality flour for the best texture; it provides structure and stability.
-
Cocoa Powder: Choose unsweetened cocoa powder for those intense chocolate flavors.
-
Granulated Sugar: Sweeten your dough beautifully; it balances out the cocoa’s bitterness.
-
Baking Powder: This ingredient helps your cookies rise slightly for that perfect texture.
-
Salt: A pinch enhances sweetness and brings out the richness of chocolate.
-
Unsalted Butter: Make sure it’s softened; this gives your cookies that melt-in-your-mouth quality.
-
Eggs: One large egg binds everything together beautifully while adding richness.
-
Vanilla Extract: A must-have for depth of flavor; opt for pure vanilla extract if possible.
-
Your Favorite Filling (Jam or Chocolate): Anything from raspberry jam to Nutella works wonders as a filling!
The full ingredients list, including measurements, is provided in the recipe card directly below.
Let’s Make it together
Preheat the Oven and Prepare Baking Sheets: Preheat your oven to 350°F (175°C). Line two baking sheets with parchment paper for easy cleanup later.
Mix Dry Ingredients: In a medium bowl, whisk together flour, cocoa powder, baking powder, and salt until well combined—this ensures even distribution for perfect cookies.
Cream Butter and Sugar: In a large mixing bowl, beat softened butter and granulated sugar until light and fluffy. This usually takes about 2-3 minutes—don’t skip this step!
Add Egg and Vanilla: Incorporate one egg and vanilla extract into your mixture. Mix until everything is fully blended; you want it smooth like velvet!
Add Dry Ingredients: Gradually add your dry mixture into the wet ingredients while mixing on low speed. Stop once everything is just combined—overmixing can lead to tough cookies.
Scoop and Bake: Use a cookie scoop or tablespoon to portion out dough onto prepared baking sheets. Make an indentation in each scoop using your thumb—this is where the filling will go. Bake for 10-12 minutes until set but still soft in the middle.
Once you pull them from the oven, let them cool slightly before adding your favorite filling into each thumbprint.
Enjoy these delightful chocolate thumbprint cookies at family gatherings or cozy nights in with loved ones!
You Must Know
- Chocolate thumbprint cookies are not just delicious; they melt in your mouth and present a perfect balance of flavors
- Their delightful texture and rich chocolatey aroma make them an instant favorite, whether for a holiday gathering or a cozy night in
Perfecting the Cooking Process
Start by preheating your oven to 350°F. Cream butter and sugar until fluffy, then add flour and cocoa powder. Roll into balls, create thumbprints, and fill with jam before baking.
Add Your Touch
Feel free to swap out the jam for Nutella or peanut butter. You can also sprinkle sea salt on top for an unexpected flavor twist that elevates these cookies.
Storing & Reheating
Store chocolate thumbprint cookies in an airtight container at room temperature for up to a week. If you freeze them, let them thaw at room temperature before enjoying.
Chef's Helpful Tips
- To achieve the best texture, ensure your butter is softened but not melted
- Always measure your flour correctly; too much can lead to dry cookies
- Lastly, let the cookies cool completely before storing to maintain their chewiness
Every time I bake chocolate thumbprint cookies, friends claim they’re the best! Last holiday season, I even made a batch for my neighbor’s party, and they disappeared faster than you can say “chocolate!”

FAQ
Can I use different fillings for chocolate thumbprint cookies?
Absolutely! Try using caramel, fruit preserves, or even frosting as fillings instead of jam.
How do I prevent my cookies from spreading too much?
Chill the cookie dough before baking to help maintain their shape while baking.
What’s the best way to make these cookies gluten-free?
Substitute regular flour with almond flour or a gluten-free all-purpose blend for great results.
Chocolate Thumbprint Cookies

Chocolate thumbprint cookies are the ultimate indulgence for chocolate lovers. These rich, melt-in-your-mouth cookies feature a soft center that perfectly cradles your choice of gooey filling—be it jam, Nutella, or even peanut butter. With their delightful aroma wafting through your kitchen, they’re perfect for holiday gatherings or cozy evenings at home. Not only are they easy to make, but they also offer endless customization options, making them a go-to treat for any occasion.
- Prep Time: 15 minutes
- Cook Time: 12 minutes
- Total Time: 27 minutes
- Yield: Approximately 24 cookies 1x
- Category: Dessert
- Method: Baking
- Cuisine: American
Ingredients
- 1 cup all-purpose flour
- 1/4 cup unsweetened cocoa powder
- 1/2 cup granulated sugar
- 1/2 tsp baking powder
- 1/4 tsp salt
- 1/2 cup unsalted butter (softened)
- 1 large egg
- 1 tsp vanilla extract
- Your favorite filling (e.g., jam or Nutella)
Instructions
- Preheat your oven to 350°F (175°C) and line two baking sheets with parchment paper.
- In a medium bowl, whisk together flour, cocoa powder, baking powder, and salt.
- In a large mixing bowl, beat softened butter and sugar until light and fluffy (about 2-3 minutes).
- Add egg and vanilla extract; mix until smooth.
- Gradually incorporate the dry ingredients into the wet mixture until just combined.
- Scoop dough onto prepared baking sheets and create indentations with your thumb for filling.
- Bake for 10-12 minutes until set but still soft in the center.
- Allow to cool slightly before adding your filling.
Nutrition
- Serving Size: 1 cookie (20g)
- Calories: 100
- Sugar: 6g
- Sodium: 60mg
- Fat: 5g
- Saturated Fat: 3g
- Unsaturated Fat: 2g
- Trans Fat: 0g
- Carbohydrates: 12g
- Fiber: 0g
- Protein: 1g
- Cholesterol: 15mg
