

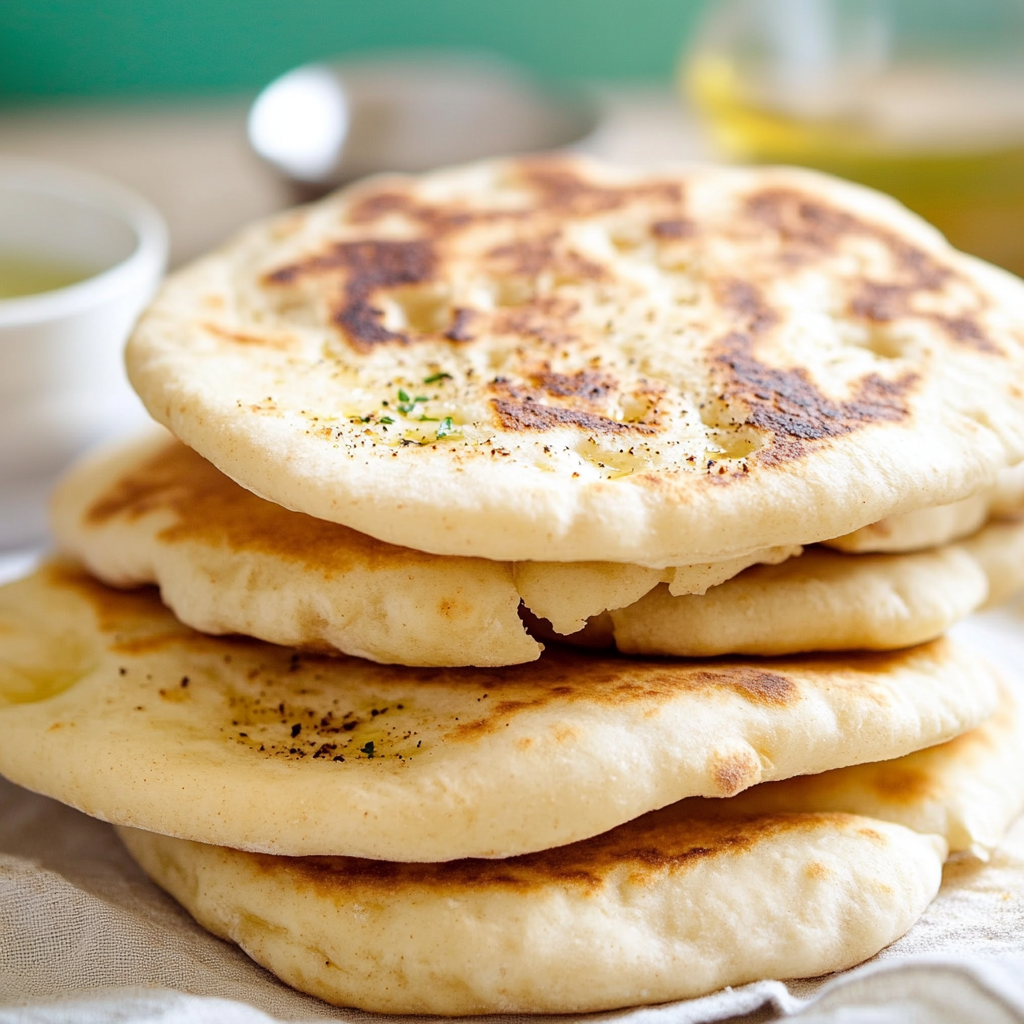
The aroma of freshly baked pita bread wafts through the air, a warm embrace that invites you to take a bite. Soft, pillowy pockets filled with endless possibilities await, making your taste buds dance in anticipation.
Picture this: You walk into your kitchen, and the sun streams in, illuminating your countertop as you prepare to create something magical. The dough comes alive under your hands, becoming a canvas for flavors and textures that will elevate any meal.
Why You'll Love This Recipe
- Pita bread is easy to make and requires minimal ingredients
- Its versatility allows for endless filling options, whether savory or sweet
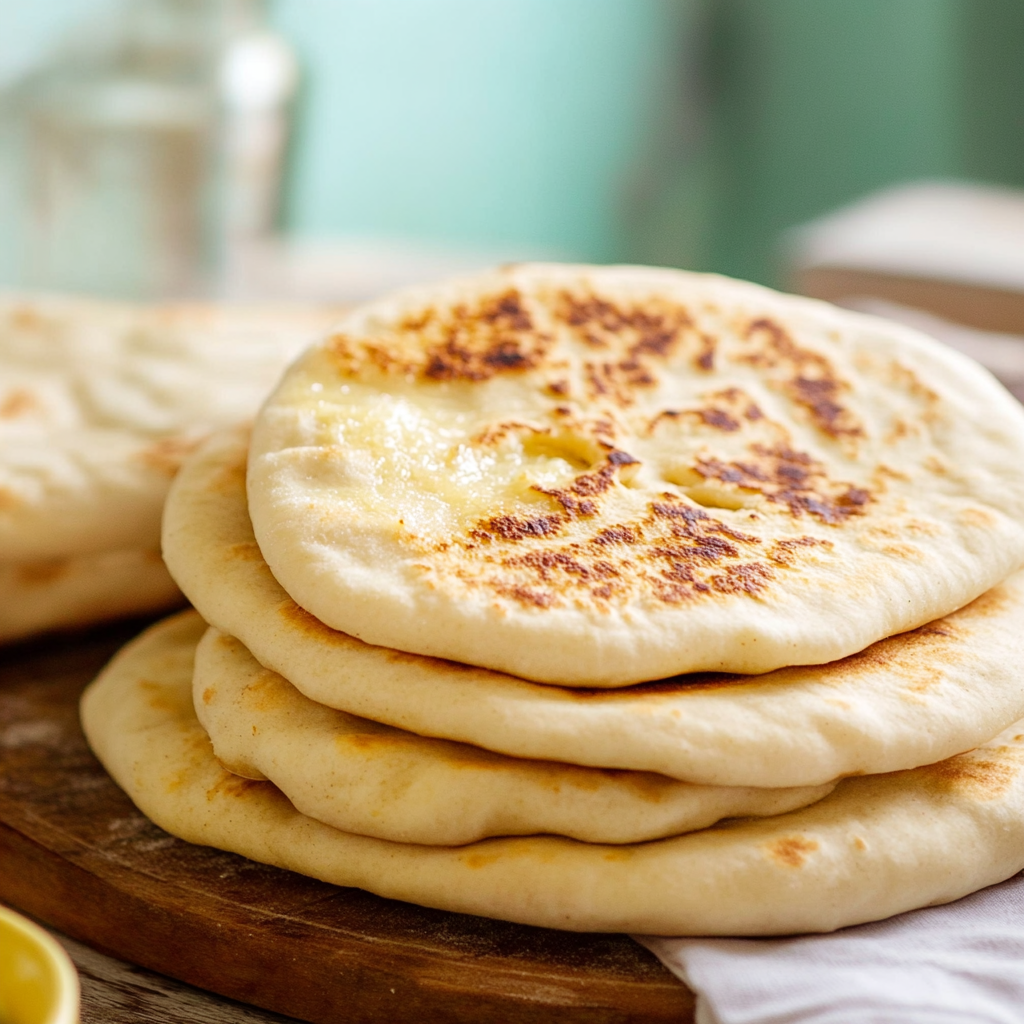
- The warm, fluffy texture pairs perfectly with dips or as a wrap for your favorite fillings
- You can impress family and friends with this homemade delight without breaking a sweat
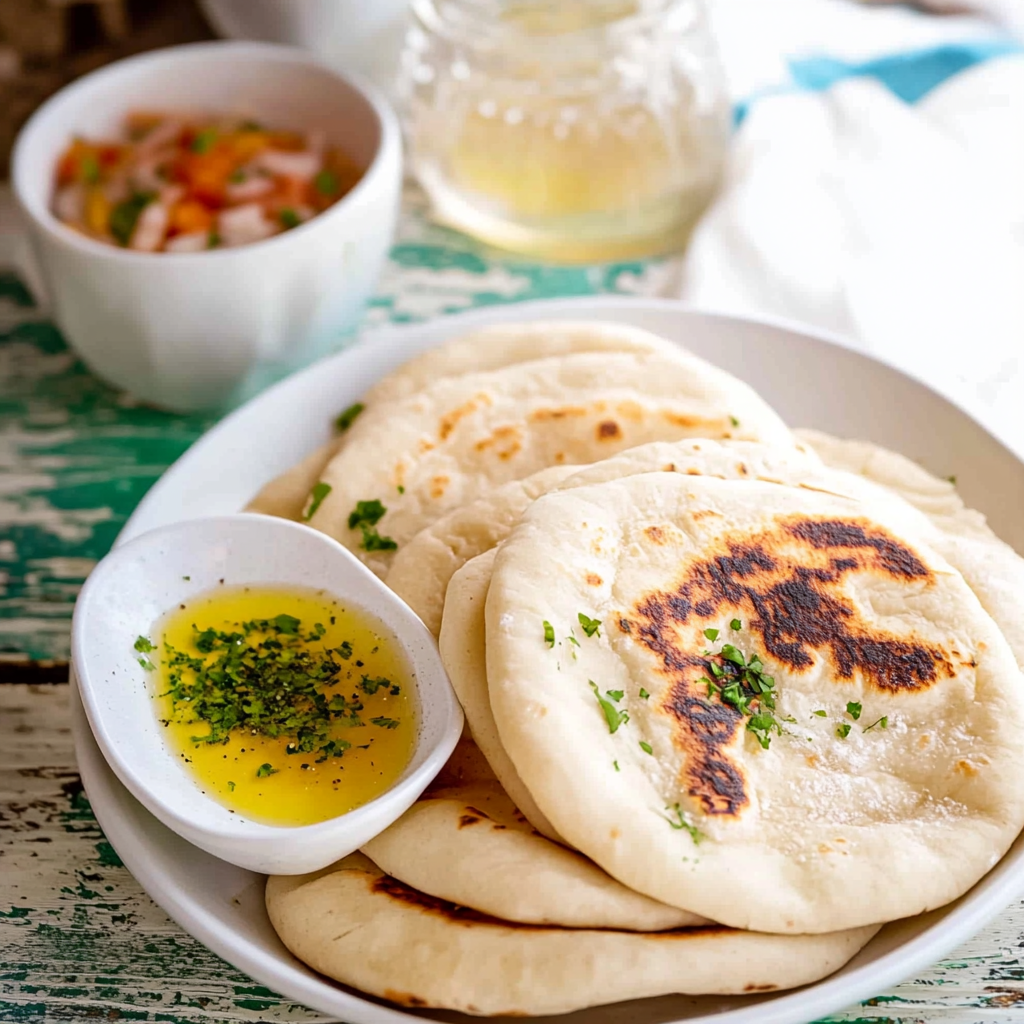
Nothing beats the joy of seeing friends gather around the table, tearing off pieces of warm pita while dipping into creamy hummus—pure bliss!
Essential Ingredients
Here’s what you’ll need to make this delicious dish:
-
All-Purpose Flour: Use high-quality flour; it makes all the difference in texture.
-
Warm Water: Ensure it’s just warm enough to activate the yeast without cooking it.
-
Active Dry Yeast: Fresh yeast is key for that perfect puffiness.
-
Olive Oil: A splash adds flavor and helps create a tender bread.
-
Salt: Essential for flavor; don’t skip it!
-
Sugar: Just a pinch feeds the yeast and enhances browning.
The full ingredients list, including measurements, is provided in the recipe card directly below.
Let’s Make it Together
Activate the Yeast: In a bowl, combine warm water and sugar. Sprinkle in the yeast and let it sit until foamy—about 5-10 minutes. This step ensures your pita rises beautifully.
Mixing Ingredients: In a large mixing bowl, whisk together flour and salt. Make a well in the middle and pour in the activated yeast mixture along with olive oil. Combine until a rough dough forms.
Knead Like You Mean It: Transfer the dough onto a floured surface. Knead for about 8-10 minutes until smooth and elastic. This workout is worth every rep when you taste that soft bread!
Let It Rise!: Place the dough in a greased bowl, cover it with a damp cloth, and let it rise in a warm place until doubled—around an hour should do the trick! Patience is key here; good things come to those who wait.
Shape Your Pitas: Once risen, punch down the dough (yes, take out that pent-up frustration) and divide it into equal portions. Roll each piece into balls and flatten them into discs about ¼ inch thick.
Cook ‘Em Up!: Preheat your oven to 500°F (260°C) with an upside-down baking sheet inside (this creates an awesome steam effect). Bake each disc for about 5-7 minutes or until they puff up like little clouds—watching them rise is pure magic!
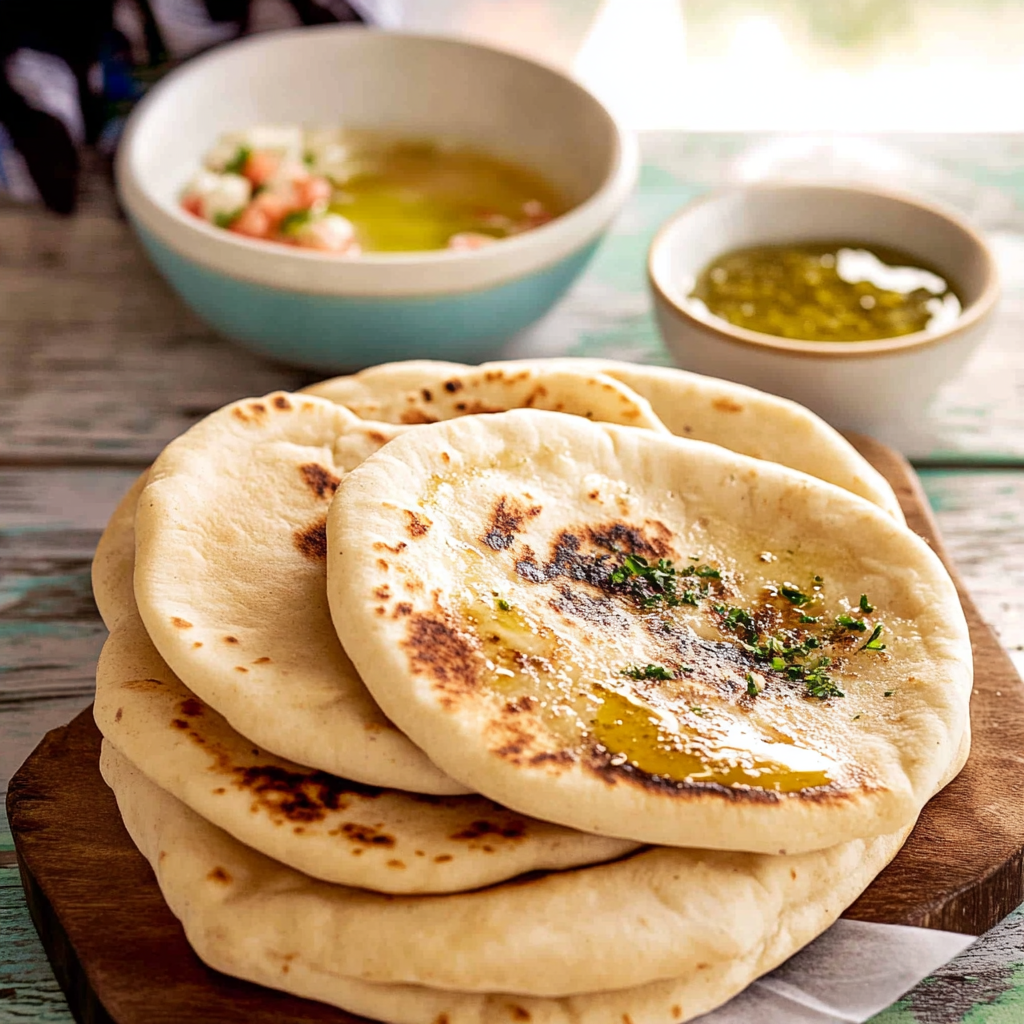
Enjoy these wonderful pockets fresh from the oven or let them cool before storing them for later adventures in wraps or sandwiches.
Now that you’ve mastered pita bread making, get creative! Try stuffing these fluffy wonders with roasted veggies or grilled meats—the world is your oyster (or should I say pocket?). Happy baking!
You Must Know
- Pita bread is not just a delicious side; it can transform any meal into an experience
- Its fluffy texture and pocket make it perfect for stuffing
- Freshly baked pita offers a delightful aroma that fills your kitchen with warmth
- It’s versatile enough to serve with dips or as a wrap
Perfecting the Cooking Process
Start by mixing your dough ingredients thoroughly, then allow it to rise. While it’s rising, preheat your oven or skillet for perfect puffing. Bake until golden brown for the best flavor.
Add Your Touch
Feel free to experiment by adding herbs or spices to the dough, like garlic powder or oregano. You can also use whole wheat flour for a healthier option while keeping the flavor intact.
Storing & Reheating
Store leftover pita bread in an airtight container at room temperature for up to 3 days. To reheat, simply warm in a dry skillet or microwave for 10-15 seconds until soft.
Chef's Helpful Tips
- Use high-quality flour for better texture; it makes all the difference in your pita’s puffiness
- Don’t skip the resting time—it’s essential for gluten development and elasticity
- Ensure your cooking surface is hot enough; this helps achieve that signature pita puff!
It’s funny how my first attempt at making pita led to a kitchen flour explosion! My friends laughed as I desperately tried to salvage my dough, but we ended up having a great time making our own pitas together.
FAQ
Can I make pita bread ahead of time?
Yes, you can prepare and freeze pita bread before baking for future meals.
What is the best way to serve pita bread?
Pita bread pairs wonderfully with hummus, falafel, or as wraps filled with your favorite ingredients.
How do I know when my pita is done baking?
Pita is ready when it puffs up and turns lightly golden; check frequently to avoid burning.
Pita Bread

Pita bread is a delightful and versatile flatbread that transforms any meal into a culinary experience. With its soft, pillowy texture and warm aroma, freshly baked pita is perfect for dipping in hummus or stuffing with your favorite fillings. This easy homemade recipe requires minimal ingredients and is sure to impress family and friends alike. Get ready to elevate your meals with this simple yet delicious pita bread!
- Prep Time: 15 minutes
- Cook Time: 7 minutes
- Total Time: 22 minutes
- Yield: Makes about 6 pitas 1x
- Category: Bread
- Method: Baking
- Cuisine: Mediterranean
Ingredients
- 2 cups all-purpose flour
- 1 cup warm water (110°F)
- 2 teaspoons active dry yeast
- 2 teaspoons olive oil
- 1 teaspoon salt
- 1 teaspoon sugar
Instructions
- Activate the yeast: In a bowl, mix warm water and sugar, sprinkle in the yeast, and let sit until foamy (5-10 minutes).
- Mix dough: In a large bowl, whisk together flour and salt, create a well, add yeast mixture and olive oil. Combine until a rough dough forms.
- Knead: Transfer to a floured surface and knead for about 8-10 minutes until smooth.
- Rise: Place dough in a greased bowl, cover with a damp cloth, and let rise in a warm place until doubled (about 1 hour).
- Shape pitas: Punch down dough, divide into equal portions, roll into balls, then flatten each into discs (¼ inch thick).
- Bake: Preheat oven to 500°F with an upside-down baking sheet inside. Bake each disc for 5-7 minutes or until puffed and lightly golden.
Nutrition
- Serving Size: 1 pitа (60g)
- Calories: 170
- Sugar: 0.5g
- Sodium: 180mg
- Fat: 3g
- Saturated Fat: 0.5g
- Unsaturated Fat: 2g
- Trans Fat: 0g
- Carbohydrates: 32g
- Fiber: 1g
- Protein: 5g
- Cholesterol: 0mg
